A bent pin inside the PS5 HDMI port is one of those repairs that looks approachable in a YouTube thumbnail and less approachable once you have a torch pointed into a 13mm opening on a €500 console. Here's an honest breakdown of what you're dealing with, when a home attempt is reasonable, and when it isn't.
What you're actually dealing with
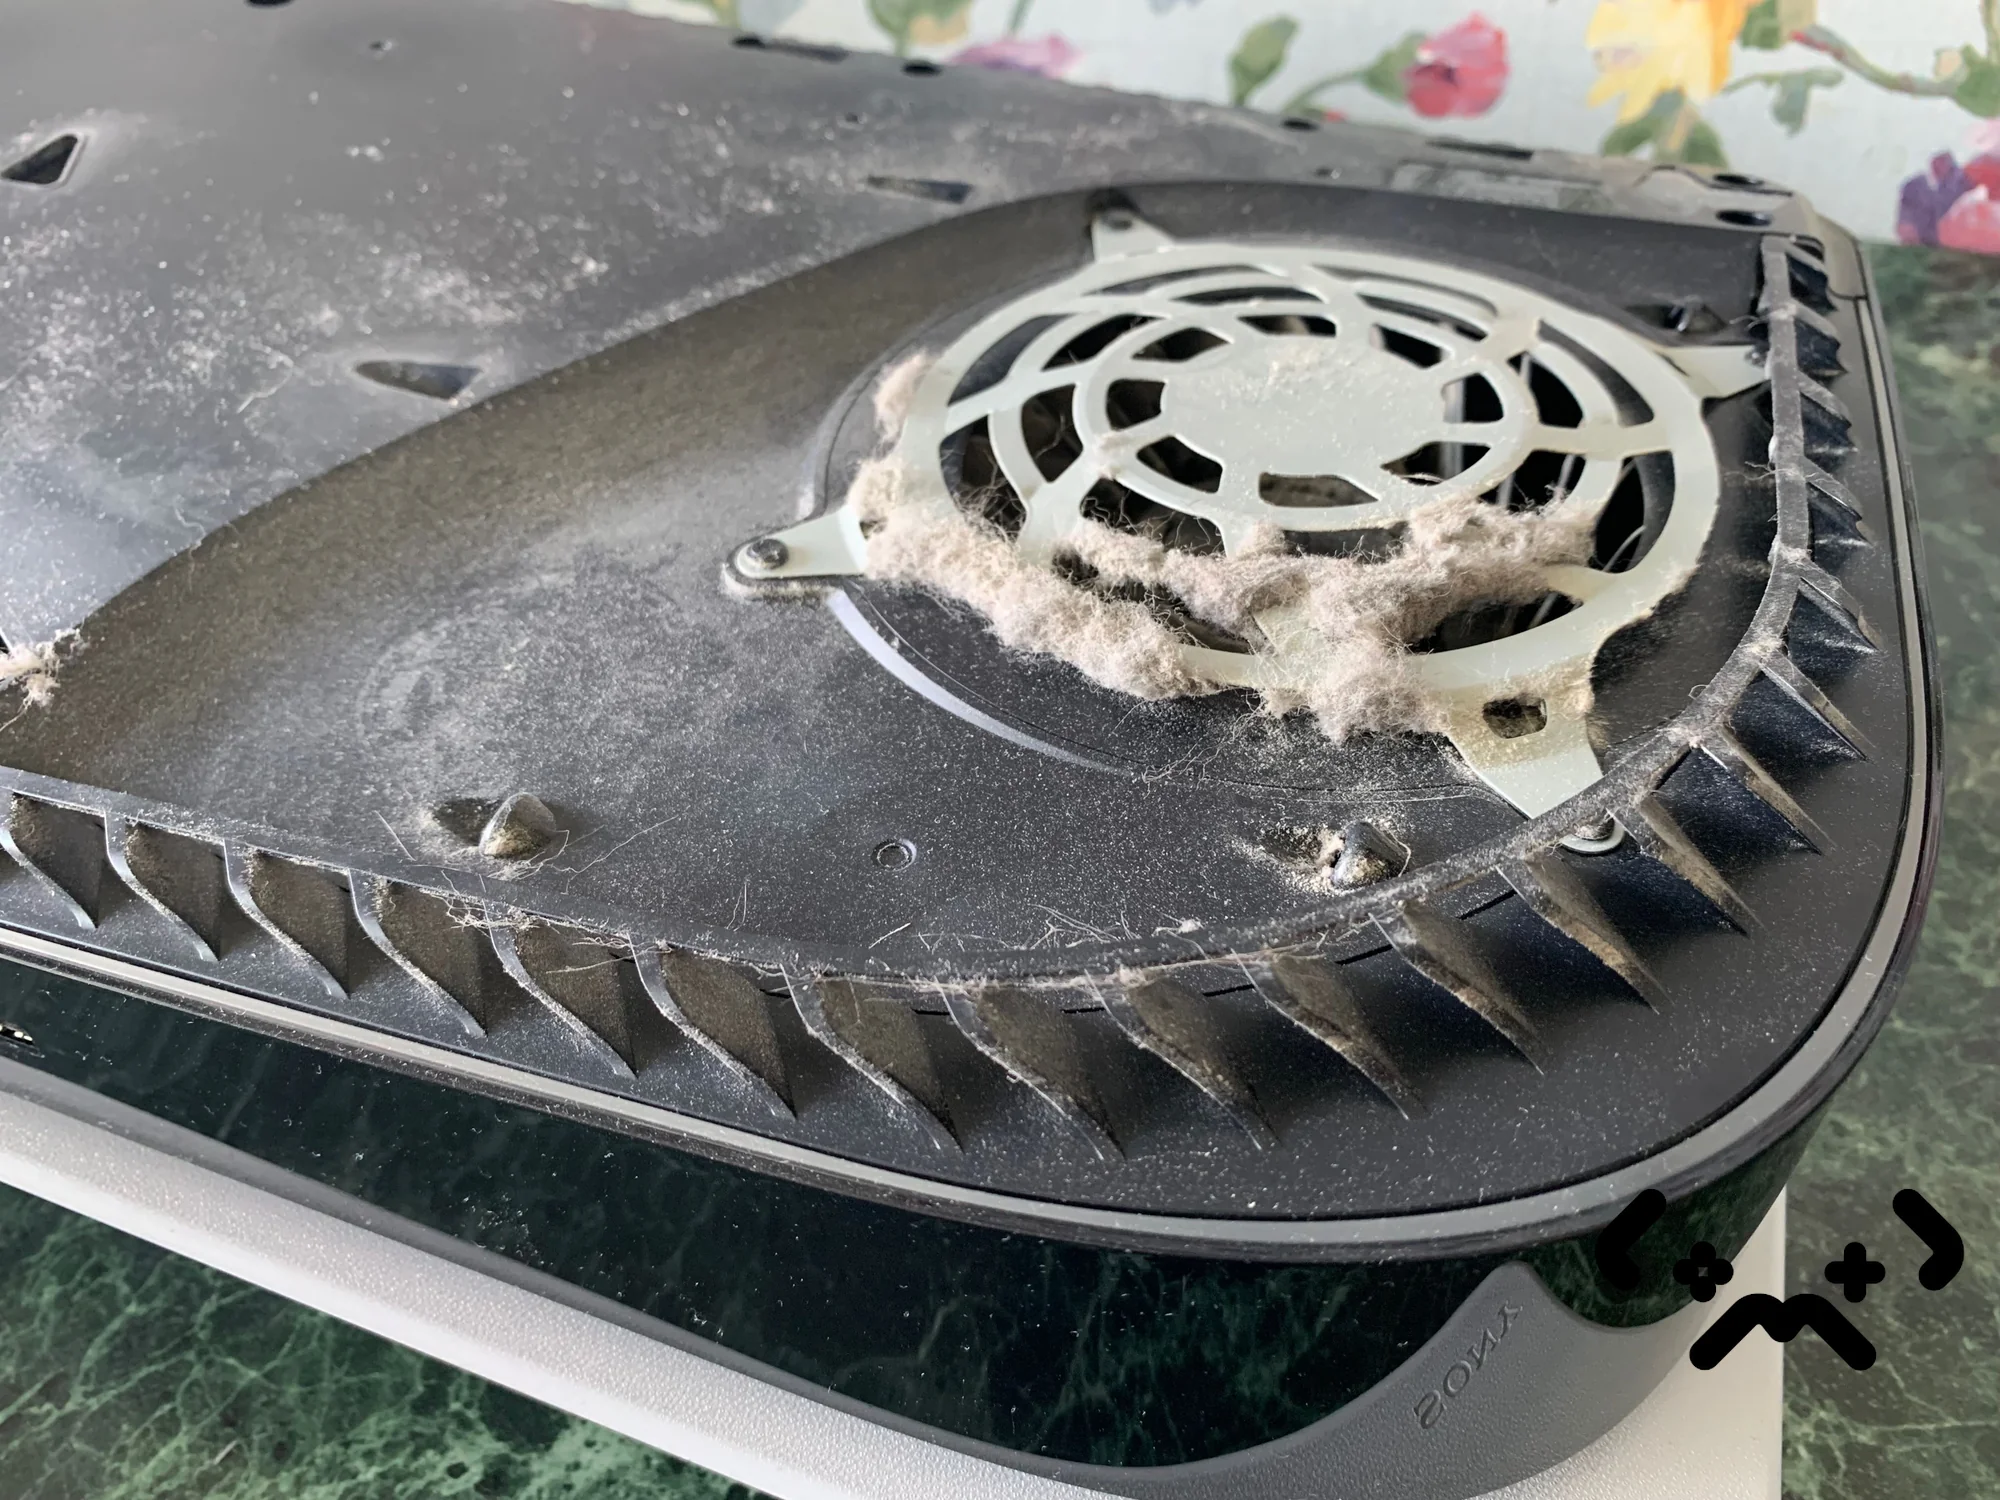
The HDMI 2.1 port on the PS5 has 19 pins arranged in two rows inside a shielded housing. The pins are thin — roughly 0.5mm wide — and made of a copper alloy that is harder than standard copper but still deforms easily under lateral force. The most common cause of a bent pin is inserting the cable at a slight angle, which pushes the plug housing against one or two pins before the locking mechanism engages.
What you see when you shine a light inside: the pin is visibly angled differently from its neighbours, either bent inward (toward the PCB) or sideways (toward an adjacent pin). Sometimes there's only one; sometimes a cable inserted hard at an angle has bent two or three in a row.
A bent pin means the pin shaft is deformed but still attached to the PCB. A broken pad means the point where the pin meets the board has fractured or lifted — this looks the same from outside but behaves completely differently under repair. Trying to straighten a pin when the pad underneath it is already cracked makes the pad lift, and that turns a €140 repair into a trace-repair job.
When a home fix is realistic
A home pin-straightening attempt is reasonable when: (1) the bend is minor and visible — the pin is tilted maybe 20–30 degrees, not folded flat; (2) the console had a signal until recently, which suggests the pad underneath is still intact; (3) you haven't already tried and made it worse; (4) you have steady hands and a suitable tool.
A home attempt is not reasonable when: the console was dropped or the cable was yanked hard (possible pad damage); the pin is bent more than 45 degrees; the pin is pushed inward toward the PCB rather than sideways; or you've already attempted it once and lost feeling for where the pin is.
The tools you actually need
The standard advice — 'use a toothpick or a sewing needle' — is partially right. A wooden toothpick is soft enough that it won't scratch the pin, but it lacks the rigidity to apply controlled directional force on a 0.5mm target. A metal dental pick or a jeweller's probe (the kind with a fine tapered tip, not a blunt needle) is better — but only if you're comfortable using it inside a dark 13mm opening without direct sightlines.
- —Bright light source — ideally a small LED torch that can be angled; phone torch works but you'll need a second person to hold it
- —Magnification — reading glasses at minimum; a loupe (10×) is much better; a USB microscope is ideal
- —Wooden toothpick for initial gentle contact
- —Jeweller's probe or dental pick for directional pressure (if the toothpick doesn't have enough control)
- —A reference photo of a straight pin taken before you start, so you know what 'correct' looks like
Avoid: metal tweezers with blunt tips (too wide, risks bridging adjacent pins), compressed air pointed into the port (pushes debris further in and can displace the housing), and any heat source (the connector housing deforms at temperatures below what you'd feel as 'hot').
How a careful attempt goes
Power the console off completely and unplug it. You want zero current in the circuit during this. Place the console on a stable surface with the HDMI port accessible — rear panel facing up or toward you, console resting on something that won't let it slip.
Position the light and magnification so you can actually see the bent pin clearly before touching anything. Take a reference photo with your phone. Now identify specifically how the pin is bent — sideways left, sideways right, or inward toward the PCB. This determines which direction you apply pressure.
Insert the toothpick along the outside of the bent pin — between the pin and the housing wall if the pin is bent outward, or between the bent pin and its neighbour if it's bent sideways. Apply very light pressure in the direction you need the pin to move, and hold it for 2–3 seconds. Remove the toothpick and look again with the magnification. The pin should have moved slightly. Repeat rather than trying to return it to straight in one movement.
If you feel resistance — stop. Resistance means the pin is resisting, which means either it is bent at the base (near the pad) and further pressure will crack the pad, or the housing wall is limiting your approach angle. Either way, forcing it is the wrong move.
When to stop and call a bench
- —The pin moved slightly then stopped with resistance — possible pad crack at the base
- —The pin broke off — it's now loose inside the port and will short other pins on reassembly
- —You can't tell if the pin is straight or not — you've lost your reference frame
- —The console now shows no signal at all where it was showing intermittent signal before — you've made the contact worse
- —A second pin is now bent that wasn't bent before — the toothpick slipped
Any of the above: stop, don't try again. The situation is now at a point where a bench repair is needed, and the bench result will be better if the port hasn't been further disturbed. A bent-but-intact pin with intact pads is fixable for €140. A pin broken off at the pad adds pad bridging to the job and adds cost.
What a bench repair actually does
When a PS5 arrives at our bench for a bent-pin complaint, the first step is inspection under 30× magnification with an angled light to assess: how many pins are bent, whether any are bent at the base (suggesting pad stress), and whether there is any evidence of prior repair attempts. Based on that assessment we decide between pin straightening (only if the pads are definitely intact and the bend is mild) or full port replacement.
Full port replacement is the default recommendation for anything beyond a single slightly-bent pin — not because it's more expensive, but because a replaced port comes with a 90-day warranty on the work and the confidence that the connector is new. A straightened pin is a pin that was once bent and is now straight — it doesn't carry the same confidence.
Cost: €140 for port replacement, same day if booked before noon Monday–Friday. If your attempt at home hasn't made things worse and the single pin is mildly bent, we sometimes do straightening for a lower cost — but we assess that on the bench, not over the phone.
FAQ
My pin looks straight now but the console still shows no signal. Why?+
A pin that looks straight to the naked eye can still be misaligned by 0.1–0.2mm, which is enough to fail the HDMI handshake at 4K or cause intermittent dropouts. Under 10× or 30× magnification, 'straight' often looks different. The other possibility is that the pad under the pin fractured during the original bend or during the straightening attempt — the connection looks correct but isn't conducting.
Can I insert a cable anyway to test if it's working?+
If you've attempted to straighten the pin, wait until you've verified under magnification that it's actually straight and not touching adjacent pins before plugging in. A pin touching its neighbour will short two signal lanes, which can damage the HDMI encoder further up the board.
Does straightening a bent pin carry a warranty?+
At our bench, a full port replacement carries a 90-day warranty. A pin-straightening job (only done when the pads are definitively intact and the bend is minor) carries a 30-day warranty, because the underlying structure was already stressed. We explain this before starting.
I can't see any bent pins but the console still has no signal. What's wrong?+
If the pins all look straight but there's no signal, the failure is more likely in the solder joints under the port rather than the pins themselves. This is a common consequence of the console being dropped or the cable being yanked — the housing is intact and the pins are straight, but two or three solder joints under the port have cracked. Port replacement solves this; there's no way to reflow the existing joints reliably because the port has to come off to access them.
Certified laptop and console repair master. Twenty years on the bench in Helsinki — tearing down PS5s, MacBooks, and gaming PCs and writing down what we learn.
+358 45 196 9558 →